Start with pre-security prep: keep liquids in a single opened bag, have your passport and boarding pass ready, and grab your ID before you reach the line. This routine helps every traveler, including families traveling with kids, move smoothly toward the gate.
Step 1: in the pre-boarding stage, remove belts and bulky jewelry, take laptops and tablets from bags, and place them in separate bins. Keep liquids in the clear bag and opened containers out of carry-ons. Have your travel documents ready to show at the next checkpoint, and coordinate with partners at the desk if you need directions.
Step 2: after the first scan, head toward restrooms or water stations if you need a quick break, but minimize backtracking. If you need help, contact service desks; their teams can guide you and your companions, making the experience smoother for more travelers, including young families and exploring travelers.
Step 3: Past the initial verification area, keep gear organized to avoid rummaging and to meet needs quickly. Have everything ready to present to staff and keep moving toward your flight. Partners in service lounges can offer tips and quick items to help the journey go smoothly, especially for families and first-time travelers.
traveling through busy hubs rewards calm planning; exploring wide corridors with a simple routine helps every traveler meet needs. If you’re young or guiding families, arrive early, keep essentials accessible, and rely on partners and service desks to make the path smoother for best outcomes across the group.
Outline: Security Screening for Departing Passengers
Arrive two hours prior; international routes require three hours today to keep bags moving smoothly through checkpoints and toward gates.
- Initially sort items: keep travel documents in one pocket, and reserve a small bag for liquids up to 100 ml in a transparent pouch.
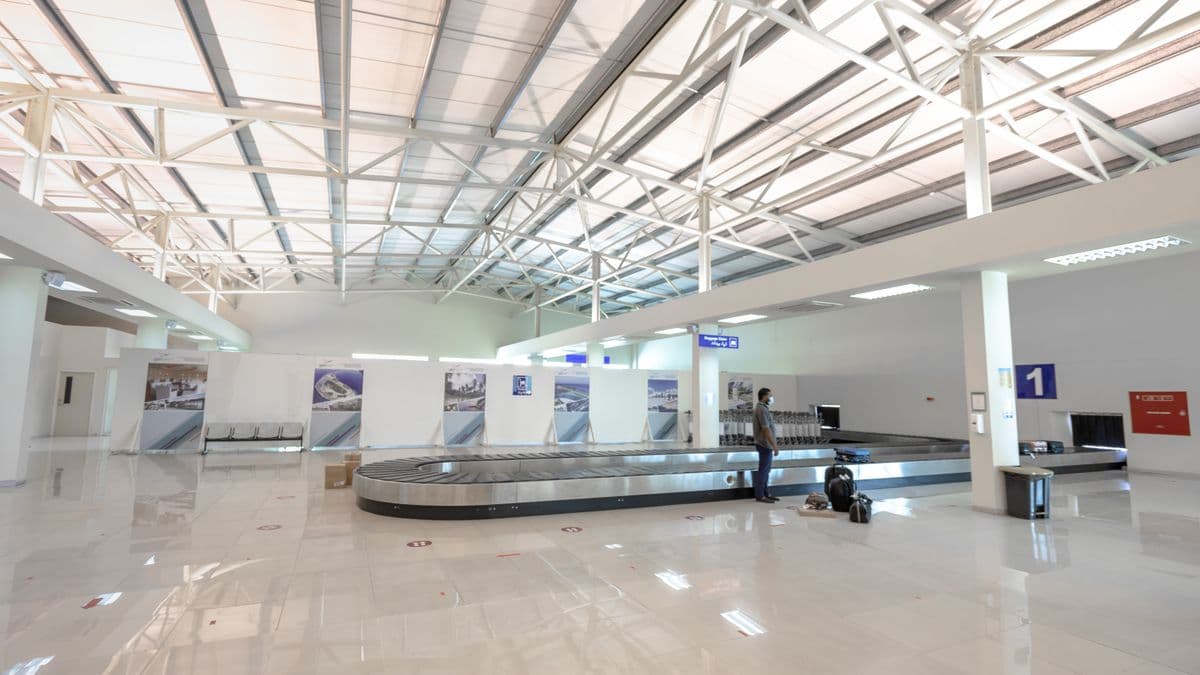
- Know your path: from arrivals to the main concourse, follow signage toward checkpoints, then head to gates; most families choose kid-friendly seating areas to rest briefly.
- Documents and belongings: present valid ID and boarding pass at the first checkpoint; know a brief list of travelers and destinations to answer quick questions.
- Bags and baggage: keep carry-ons organized; remove liquids into the translucent pouch; place bags on the belt stack in the order you’ll retrieve them.
- Electronics and devices: remove laptops, tablets, and other large gear from bags; place in a separate tray with chargers nearby for quick retrieval.
- Clothing and footwear: remove jackets, belts, and metal items; wear easy-to-remove shoes to speed up the flow; place items in a tray as requested.
- Kids and families: bring small activities and snacks; choosing seating near the central hubs helps with comfort; explain steps briefly to children to reduce their anxiety.
- Checkpoint flow: select the shortest line within the checkpoint area when possible; look for family lanes or lanes handling compatible items; after clearance, move toward gates politely and promptly.
- Post-checkpoint actions: collect belongings, re-pack items, and continue toward your gates; if re-check is needed, head to the recheck counter before boarding.
- Tips for December travel: peak crowds require more time; monitor displays for gate changes; stay near your seating area to regroup as needed.
Prepare Your Travel Documents: Valid ID, Boarding Pass, and Terminal 7 specifics
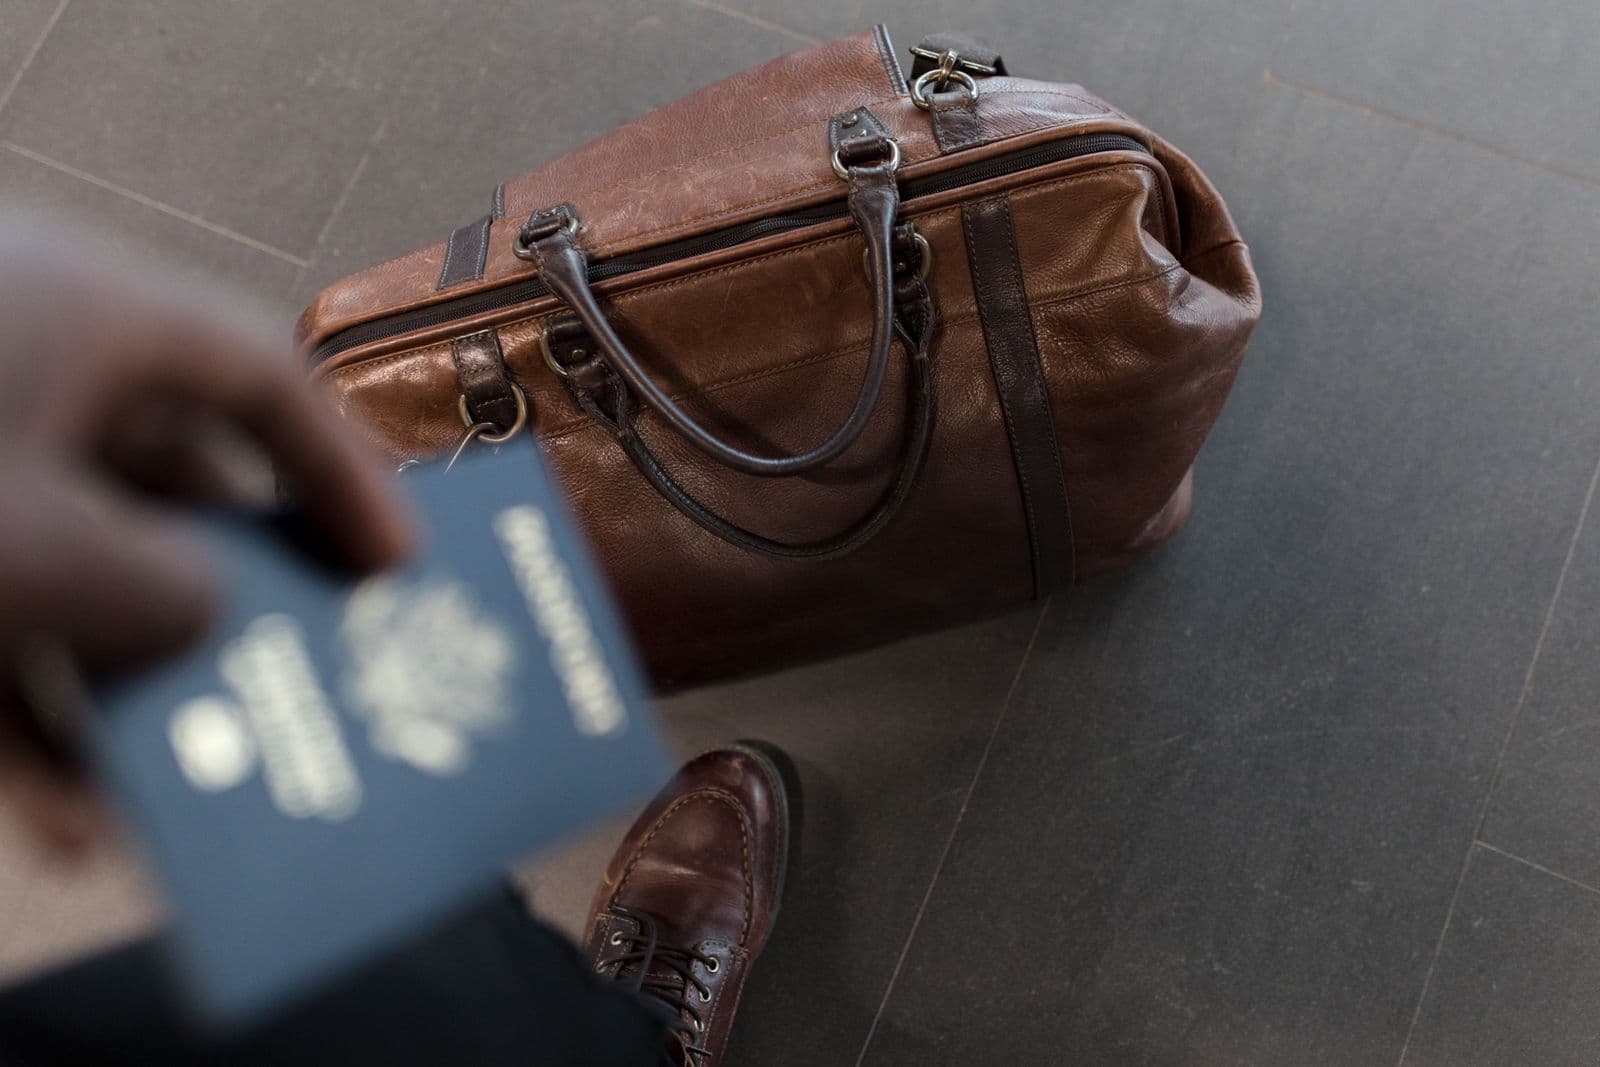
Immediately verify that your valid government-issued ID matches the name on your boarding pass, and keep a digital copy alongside a printed version in an accessible pocket. At Terminal 7, proceed to the designated checkpoint where staff verify identity, scan the boarding pass, and direct you toward departures lanes.
Have several options available: a passport, passport card, or state-issued license, plus any additional documents requested by your carrier. Ensure the details on each document align with the booking: name, date of birth, expiration.
Terminal 7 specifics include location at JFK, connects to various terminals via internal corridors; pre-boarding lounges and a designated checkpoint simplify the flow. A quick check of status helps you stay on track. The area offers atms, service desks offered, contact staff if you need help, high-speed Wi-Fi, and several signage lines to support departures. It is designed to deliver a comprehensive, seamless experience.
Before heading to the terminal, pack valid ID, boarding pass, and backup copies in a reliable, compact sleeve. Keep items in a location you can access with one glance, initially toward the checkpoint. This approach reduces delays and ensures a seamless experience. In december, crowds rise, so allocate additional minutes at the start of your pre-boarding steps.
Pack Smart: Liquids, Gels, Electronics, and Prohibited Items in Carry-On

Put liquids and gels in containers up to 100 ml, then store all in a single transparent storage bag (1 liter). Currently, this quick setup makes the process easier, allowing you to head to the gate with confidence today. This simple routine helps you make a smooth start.
Medicines, infant formula, and other medical liquids that exceed the 100 ml limit require separate handling; keep prescriptions handy and be ready to present at the line, reducing delays. A quick check helps you work past the chaos, while most people maintain a calm, family-friendly setup that makes the process smoother.
Electronics: laptops and other large devices like tablets, cameras, and portable printers should be placed in a separate bin; smaller devices like phones, wearables, and e-readers can stay in your bag, taking only a moment to organize. If you need quick access, rearrange before placing in the bin.
Prohibited items include sharp blades, tools, flammable aerosols, and spare batteries above 100 Wh; store those in checked luggage if allowed, or leave them at home to avoid delays.
Next, download the airline app to display a personalized packing checklist; partners across hubs offer quick tips, making the process smoother and supporting a family-friendly flow. Today, your setup connects your routine to a unique approach that reduces waiting and keeps relaxation high.
During December travel peaks, plan ahead: arrive early, check your items, and stay organized. Arriving travelers benefit from a cleared, well-packed carry-on, heading toward departure smoothly and cutting delays at the gate.
Navigate the Screening: In-Line Steps, the Scan, and What Happens Next
Arrive early today, review the website, and organize bags so you head directly toward the first line.
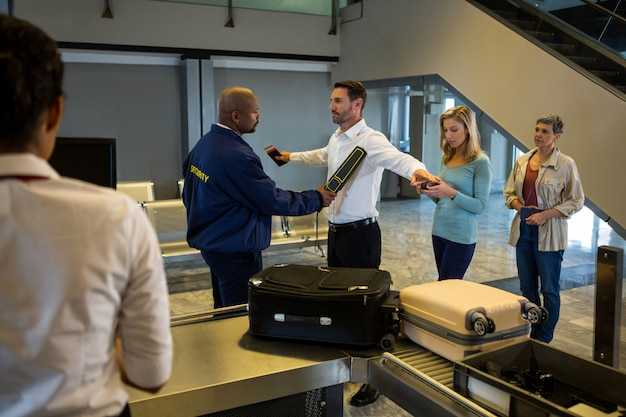
In-Line progression begins at the entry where chairs line the corridor. Keep bags together, place liquids and electronics in trays, and maintain clear visibility to speed checks. Staff verify the cleared status in the connected system, then signal you to advance toward the belt where items pass through a scan unit. The layout boasts clear signage to help you find the next checkpoint.
During the scan, items move along a belt and through an X-ray unit. If anything flags, a team member contact you directly. Be prepared to declare any duty-free items beyond limits; answer succinctly to keep the flow moving. Today peak periods may test pace, yet questions from officers help you complete the process smoothly.
After clearance, collect your belongings and head toward the terminals. Youre encouraged to keep moving at a steady pace, yet stay aware of service announcements on the level boards. Currently, displays show gate assignments while you plan disembarkation. At this point you can find food, beverages, and duty-free options; chairs provide places to rest, and disembarkation plans may be updated as flights change. If youre unsure about an item, contact them–the staff welcome questions and can help you pack bags so you stay on track, especially when crowds are high. The best approach keeps everything organized and boasts a smooth pace that makes today’s process efficient and clear, so you leave with everything you packed. Screens update timing, keeping you entertained as you wait today.
Handle Special Situations: Medical Devices, Kids, and Mobility Aids
Declare medical devices and mobility aids at the entry desk and present the essential documents to speed clearance. Keep everything organized in a transparent bag for storage and quick access, so staff can inspect without delays. Terminals offer seating and ATMs nearby, so plan a brief pause if needed while you navigate between flights.
Medical devices guidance: Bring a physician letter if relevant, list device model, battery type, power adapters, and spare parts in your carry storage. Check airlines policies via their website to know requirements; typically staff will ask you to separate components if needed, and you will be cleared swiftly when all items are documented. If necessary, declare medical gear and keep it accessible while traveling; after december guidelines may update; verify details on the website to avoid surprises. This provides a comprehensive approach; if you have a potential question, the site offers an answer.
Kids: young traveler tips: bring entertainment items, compact seating pad, snacks, and a lightweight stroller if allowed; plan seating near family, and check if pre-boarding is available; airlines typically offer support for families, and the experience boasts smoother navigation in terminals; keep important documents for kids ready; while at the terminal, equip yourself to entertain and calm them; after december updates may apply. This mindset helps the traveler enjoy a better experience during time on site.
Mobility aids: wheelchairs; crutches; walkers; scooters; coordinate with airlines well in advance; you may need to declare devices or show documents; ensure storage in the ride area and accessible path; many devices fit in overhead compartments; staff can assist with seating near the traveler; after december rules may adjust; label devices clearly and carry spare batteries, supporting a smoother flight.
| Category | What to prepare | Practical tips |
|---|---|---|
| Medical devices | Model, battery type, physician letter (if applicable), documents | Carry in accessible storage; declare at entry desk; check website for procedures; you may be cleared quickly if everything is ready |
| Kids | Minor travel documents, seating requests | Choose seating near family; bring entertainment; pre-boarding if offered; keep time and patience |
| Mobility aids | Device type, batteries, spare parts, labels | Coordinate assistance in advance; ensure storage; label clearly; follow airline guidelines |
Terminal 7 Dining: Restaurants, Options, and Hours for Departures
Arrive early and map dining options to maximize choice and minimize queues.
Terminal 7 presents a diverse lineup: quick-service counters, coffee bars, bakeries, and sit-down venues, all connected to the main concourse so you stay close to designated seating zones before you head toward the gates.
First step: review the digital boards for today’s hours, since typical service runs from 05:30 to around 22:30, with some outlets staying open later on peak days.
- Most quick bites and cafés offer fast options to accommodate families and solo travelers alike; think sandwiches, salads, bowls, wraps, plus fresh juice and coffee for a quick pick-me-up.
- Dessert spots and bakery counters provide snacks that travel well, useful if youve a long layover with appetite spikes.
- Full-service restaurants deliver diverse menus, including regional bites and lighter plates; choose seating near windows to enjoy a bright view of the tarmac.
- Duty-free shopping is connected to the dining zone, so you can grab a bite and pick up last-minute gifts or travel essentials in the same stroll.
- Storage lockers near the main atrium let you stash bags if youve too much to carry while exploring toward the gates.
- There are designated quiet corners with wide seating; ideal when you need a relaxed pause before boarding.
Tips: whether youve a tight turnaround or a long layover, tailor your plan to your arrival time and pick a venue toward the gate area youll reach next.
Reliability note: well-staffed counters and prompt service keep lines short, so you stay ready for the next step toward departure.
Cleared documents ready; quick checks near the gate area simplify movement and reduce delays into the boarding zone.
There’s a broad mix of options aimed at families and solo travelers, with fast meals, comfortable seating, and efficient pathways that connect toward the main corridors of the terminal.
Related guide: International Check-In - A Guide to Smooth Global Travel — practical tips for a seamless international check-in, covering docs, security, queues, and airline systems, with clear steps to.