Where to begin: claim24 operates in multiple locations inside the global hub; look for centers near the queens arrivals and along the airways corridors. Today you will see staff who can assist with exchanging dollars; compare their rating across locations before you proceed.
What to expect financially: centers apply a margin on the rate and may add a small fee; some offers are better for larger amounts; if you need a quick conversion, prioritize desks with higher foot traffic and clearer signage; always confirm the exact sum in dollars before finalizing.
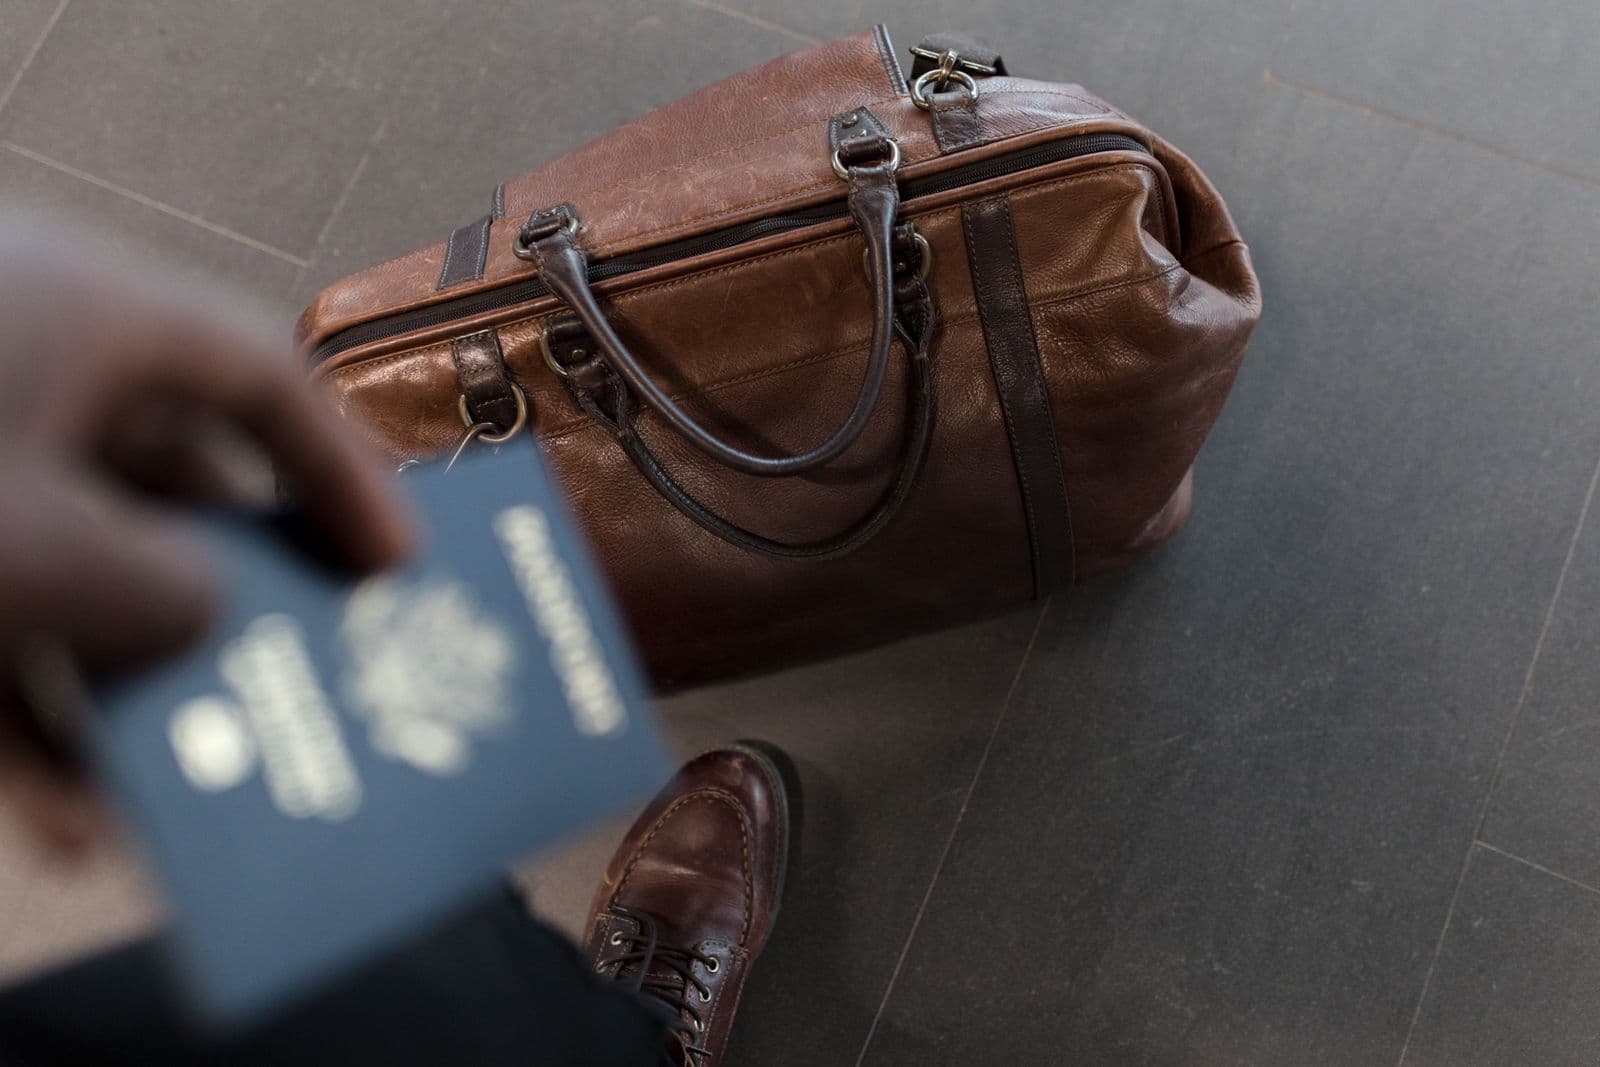
Preparation steps: bring government-issued ID; carry your home address and contact details; have your accounts or debitcredit cards ready for optional options; if you prefer a direct swap into dollars, specify it clearly; avoid exchanging large sums in busy spots; use claim24 to lock in good offers today.
Smart steps: check the faqs at the desk; you must ask about minimums, maximums, and what happens if you miss the window of exchanging; if a line is long, head to a second center in the same building; between terminals there are additional windows to speed things up.
Final advice for travelers: plan in advance, compare at least two locations, keep receipts, and monitor the rate board; if you must convert smaller sums, choose a quiet time today; for larger sums, consider a bank or travel service with robust debitcredit options; this approach minimizes fees and yields good value while you navigate queens centers and their staff.
JFK Terminal 1 Currency Exchange: Practical Guide
Right away, head to two money conversion desks in Terminal 1's arrivals area to compare rates on the converter board, then pick the better offer before you convert.
Times and operations vary; desks operate from early morning until late evening; check hours on the claim24 board or ask staff.
Know that payments can be processed in cash or on cards; fees and spreads may apply; ask for the total cost before you convert and see if there is a service that holds the receipt.
Between desks, use the converter to compare the net amount you receive; consider the mid-rate plus markups; popular choices include British pounds and other foreign notes; check rating on google before you commit.
British travellers at internationaljohn and other airports can save by choosing desks further from busy gates; hold receipts for claim24 if you notice misrates.
Keep your converter handy; times you can convert with quick service; between peak hours, lines tend to shrink.
Where to Exchange in Terminal 1: Counters, Banks, and ATMs
Head to the hall near Terminal 1's central entrance, where counters from Travelex and several banks sit between the main checkpoints. The open area is well-lit and clearly signed, so you can compare rates quickly. The west-side cluster is typically the most convenient for immediate needs, and youll save time before heading to baggage claim or ground transport. This path is very straightforward.
Verification with a passport is required; after you confirm the amount, the display shows the offered rates and all fees. If you want to lock in a specific rate, you can place an ordering request at the desk or with the on-duty manager. Granted proper ID, the staff will complete the exchanging swiftly, and youll have cash within minutes.
ATMs in Terminal 1 provide 24/7 access with multi-currency options. After inserting your card, select the denomination and language; the machine will show the daily spending limit and any fees. Many machines offer a conversion choice that you can review, and you can compare it with counter offers to find a favorable deal before you head abroad.
Fees vary, with some desks charging a fixed markup and others offering lower rates for larger sums. Review the details before confirming and look for a desk that provides a clear breakdown. Among the options, using a linked bank card for purchases can save you extra costs during your trip and avoid carrying excessive cash.
Location and hours tend to align with peak passenger flow: the hall cluster is open daily from early morning until late evening; in practice, the most popular counters stay open until after the last departure. If you have questions, ask the staff or read the quick reviews at the information desk; this isnt a one-size-fits-all routine, but it works for most travelers. Airlines lounge proximity can offer additional guidance, and the on-site manager can help clarify any details.
Understanding Rates and Fees: What a Quote Covers
Open two quotes from banks at the terminals; on landing, compare the content of what each offers: the quoted base rate, the margin, and any extra fees. A common mistake is focusing only on the headline rate; the total cost through the counter might include a processing fee or daily cap that reduces value.
A quote should clearly spell out what is included: base rate, markup (spread), and desk-specific charges. Also confirm whether the rate applies to dollars and whether there is a daily limit or card processing fee. If you consider exchanges at York terminals, compare at least two banks across different counters to see where the common difference lies. Through the process, you’ll learn what it means in real terms and how it affects your access to funds.
Cheaper options often come with a straightforward path: check the cheapest quoted margins at several counters near gates, and choose the option with transparent fees and no hidden charges. The quoted amount means what you will pay, not what you hope to pay; access dollars reliably by using a bank desk or counter and avoid surprises. Under clear terms, walk to a desk for a written quote, and remember that openings may be time-bound so act quickly to lock the rate.
Required Documents: Passport, Boarding Pass, and IDs
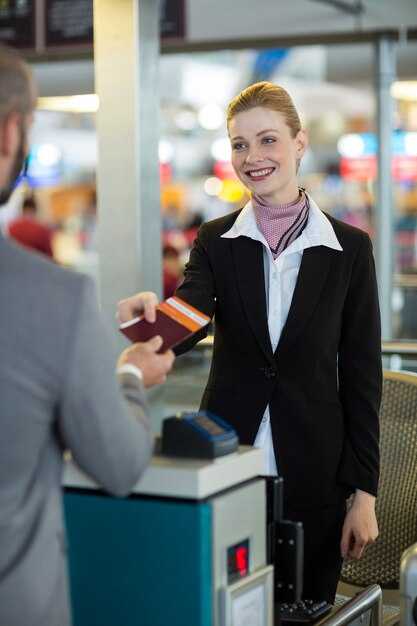
Have the passport, boarding pass, and at least one government-issued photo ID in hand before approaching money desks. Digital copies on your phone work as backups. This isnt optional during busy periods. If the names on documents differ, present the passport first and then the secondary ID to keep the line moving.
- What to bring: Passport (valid for at least six months beyond travel), boarding pass (print or digital), and a second photo ID (driver’s license or national ID). If names don’t match, bring a name-change document. Insurance card or policy number can stay in a separate wallet for emergencies.
- Where to go: Look for Money or Forex counters in the arrivals and departures areas, near banks or at dedicated kiosks. Locations vary by terminal. Through clear signage and staff guidance, reach the right desk. On Sunday, hours may be limited–check ahead for opening times.
- Costs and final amount: Always ask for the final amount you will receive and the rate before handing over cash. Note the charge and the spread. The cheapest option is often a bank counter or a desk tied to your bank; kiosks may show higher costs. jpy1 is a sample value you might see in rate examples, illustrating how small differences add up.
- Insurance and backup: Keep travel insurance details handy; some desks verify policy numbers if relevant. In case of any issue, staff can guide you through the process.
- Tips for speed: Present documents through the desk window, maintain a calm pace, and avoid last-minute delays. internationaljohn recommends having an online bank account ready for potential cheaper options, which requires advance setup and an account.
Step-by-Step: How to Complete the Exchange at a Counter
Locate a bank desk or money counter at hoursterminal or pmterminal where the rate board is clearly visible. In popular spots near Queens and Greenwich, you can spot a meaningful spread between desks; do a quick comparison across two or three spots to avoid missed value, especially when lines grow on friday.
Bring valid photo ID (passport works best) and any details about the amount you plan to swap. Youre required to present the ID for identity checks; having everything ready minimizes delays and keeps the line moving.
Decide means of payment. Many desks still prefer cash, while some also accept debitcredit cards. Ask upfront whether your card is eligible and if any card fees apply, so youre not surprised.
Do a quick comparison of rates and fees across spots. Rates can vary every hour; read the rate board, note any service charges, and ask if a fixed spread applies or if a dynamic quote is used. More than one desk can offer different numbers, especially during peak hours.
Confirm stock and denominations. Request a plan that keeps most funds in notes you can easily carry, and specify if you need small bills. Also ask for a receipt and a compact inventory slip so youve got a clear record of what was issued.
Accept funds, count promptly, and confirm the total on the screen or at the desk. Once youve checked, store the cash securely and arrange notes by denomination for easy use after you leave the spot.
Take the receipt, check the rate and total again, and address any discrepancy with the supervisor if needed. We recommend confirming the number before you sign anything and avoiding lingering questions later.
After the transaction, keep documents and receipts in a safe place. Youre traveling through busy terminals, such as near the Queens corridor or Greenwich hub, carry small amounts at a time and avoid exposing large sums in public.
Extra tip: If you want more value, compare rate quotes on different days or times; friday afternoons and evenings can slow service in some places, so strategy matters. Also remember that carrying, storing, and using funds across places requires care to keep in mind avoiding loss; check the bank's services for money conversion help if needed.
Alternatives to Airport Exchange: Pre-Order, Online, or Local ATMs

Pre-order cash from a reputable online provider and pick up at a convenient location; this locks a quoted rate, avoids long lines at peak periods, and reduces spending risk. Start by confirming the pickup location, hours, and whether you can attach a specific account; some setups let you pay with a card or bank transfer, making getting funds faster once you land.
When comparing online options, prefer providers with transparent fees and real-time rate updates. Look for clear breakdowns of service charges, pickup costs, and any minimum spend. The best deals often come with no hidden charges if you meet a claim24 threshold; aim for 4 stars rating and avoid offers with vague terms. If timing matters, check GMT/greenwich references to align pickup with desk hours. Include a backup option so you can switch if checkpoints delay. For tiny spend, some promos display jpy1 increments; they rarely move the total meaningfully.
Local ATMs linked to major networks can offer favorable totals and enable getting cash on demand. Before you go, check with your home bank about partner networks at your destination to minimize withdrawal charges; this is the best way to keep spending within plan. When you withdraw, decline any on-screen conversion and accept the local amount; this helps you control the spend and avoids hidden fees. If you have multiple accounts, choose the one with the lowest withdrawal fee and avoid exceeding your planned amount.
Overall, these paths tend to beat relying on on-site desks at checkpoints. Combining pre-order with occasional local withdrawals gives you flexibility, control costs, and a smoother getting-around. The difference in total spend is noticeable; plan for some hand, get funds in hand, and use online pre-order to lock value before travel.